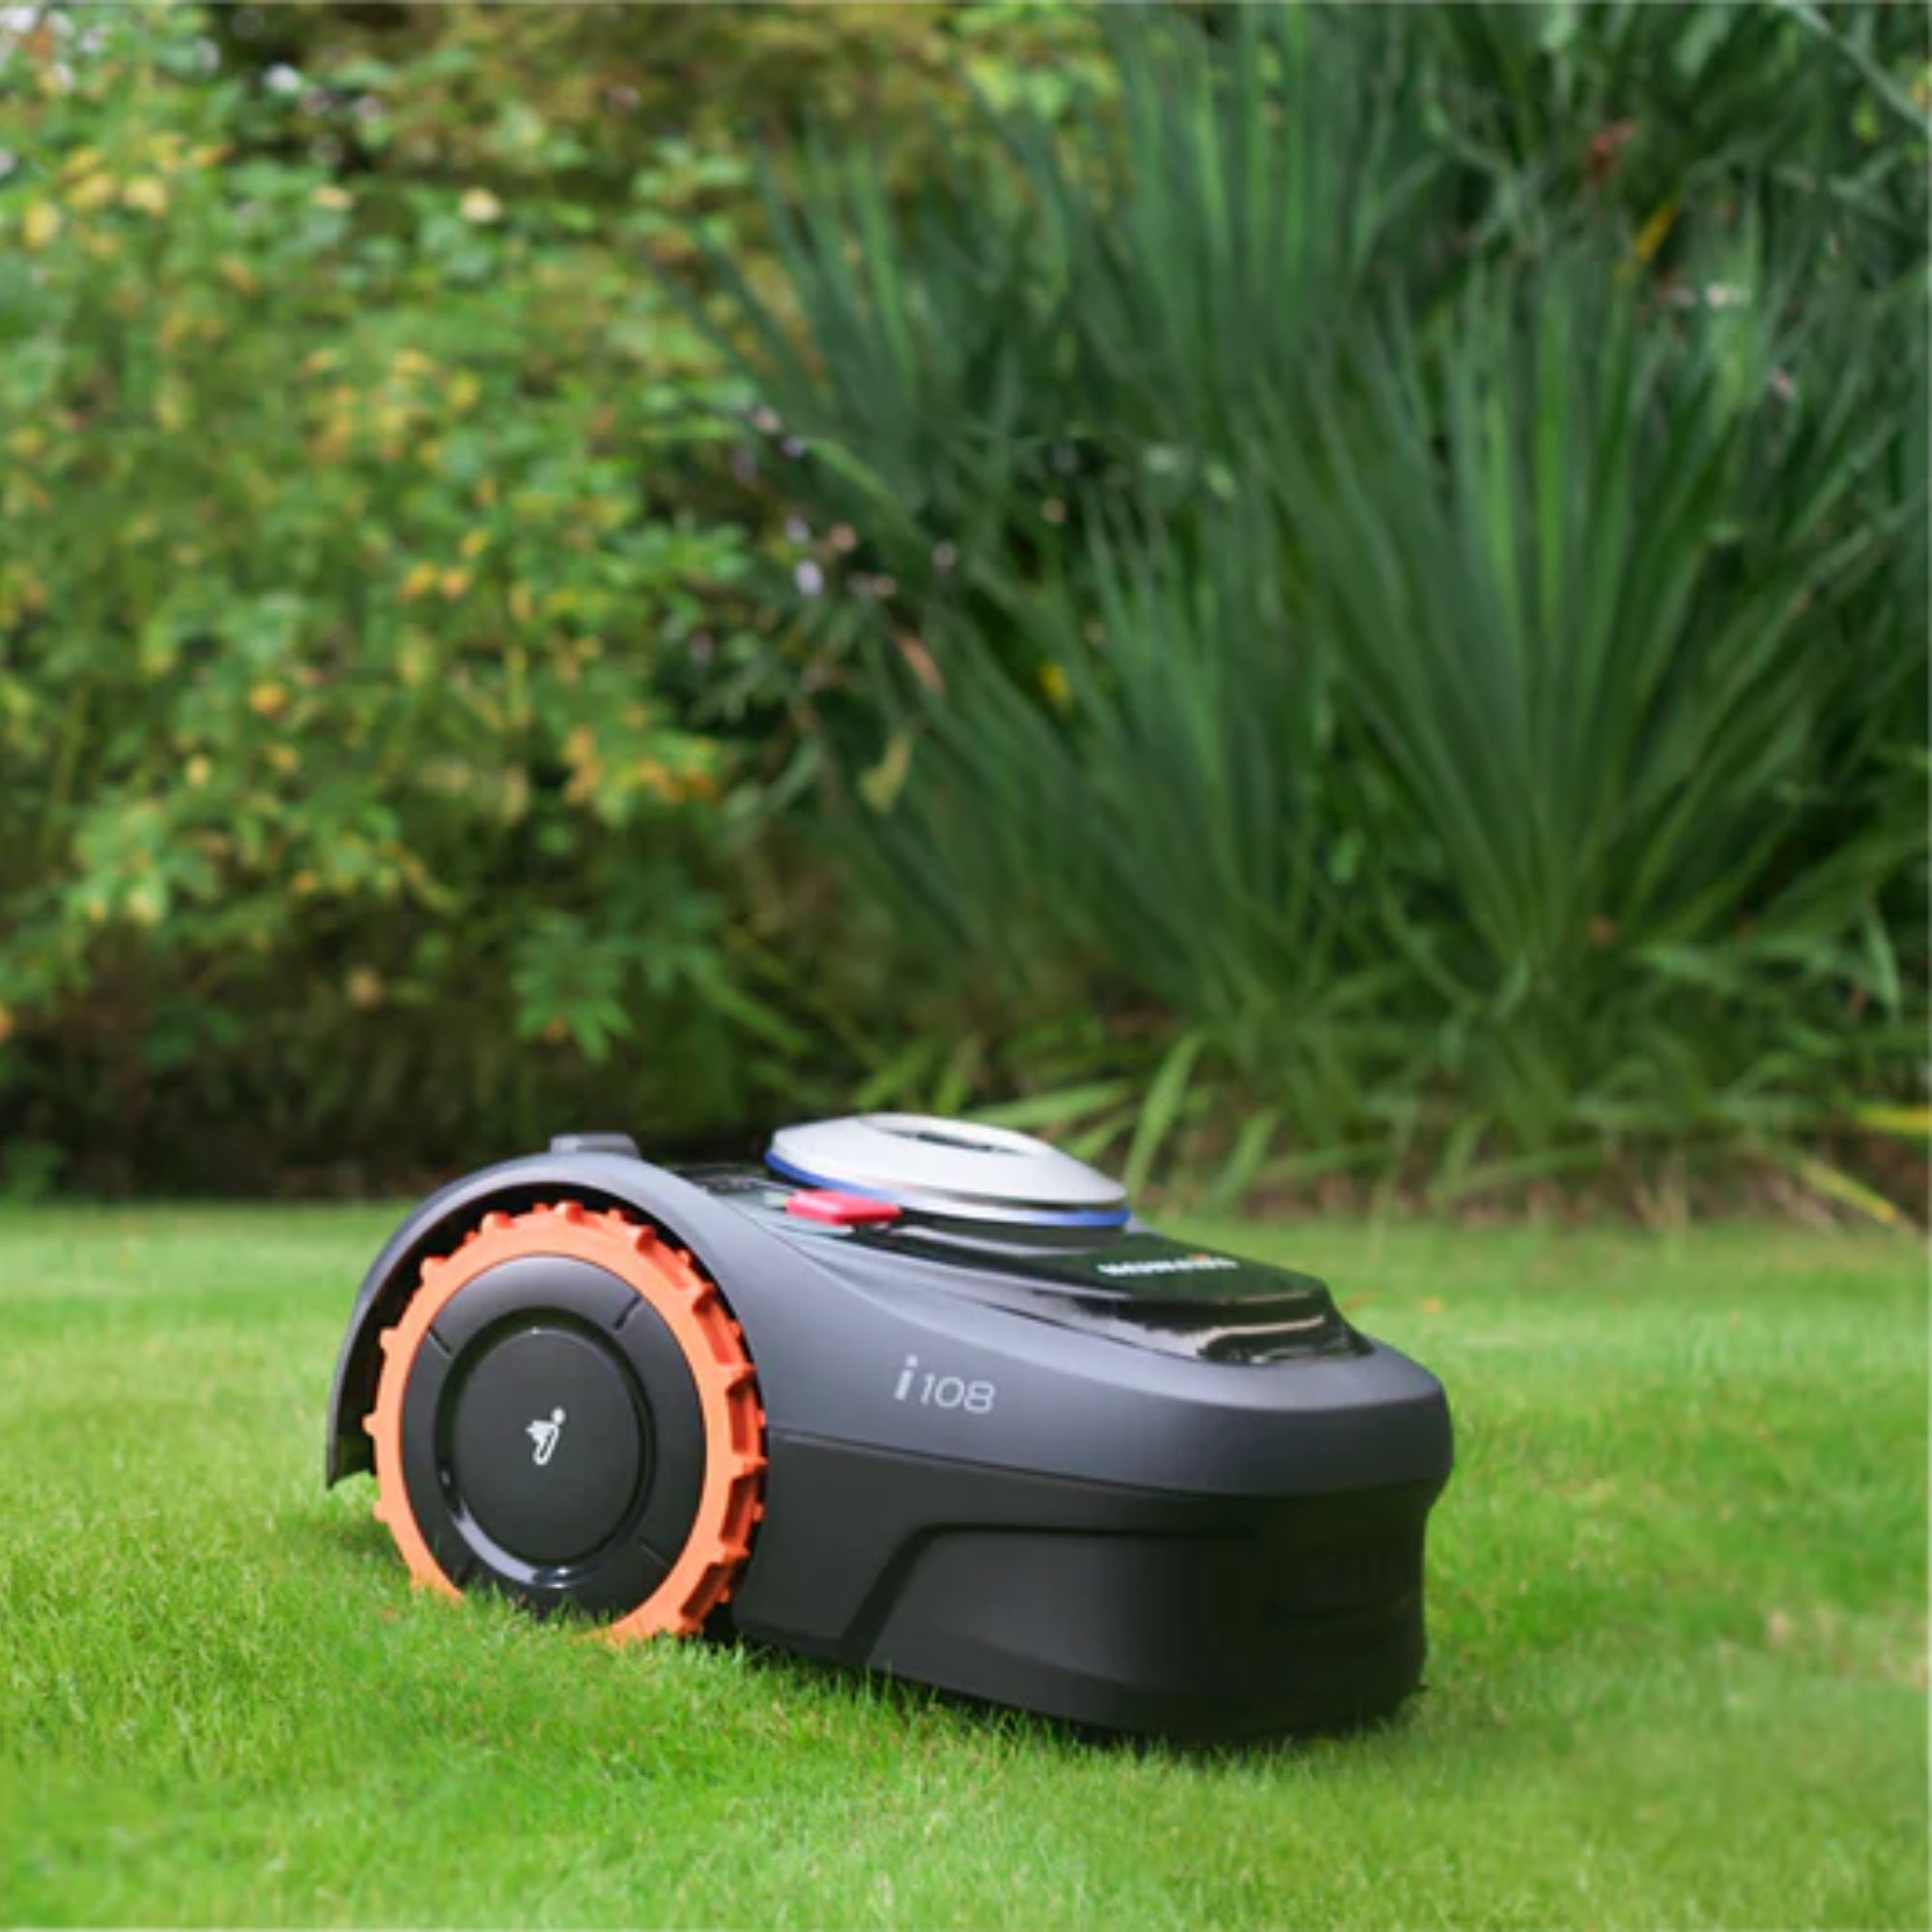
At MowBot, we're all about making lawn care as effortless as possible. One fantastic feature of our Automower® robotic lawn mowers is the Weather Timer, which optimises your mower's schedule based on the weather. Let's dive into how this smart feature works and how you can enable it on your Husqvarna Automower®.
What is the Weather Timer?
The Weather Timer is a nifty function that adjusts your robotic mower's cutting schedule according to the growth rate of your grass. It uses weather data to determine when your lawn needs mowing, ensuring your grass is always at its best.
How Does It Work?
When the grass grows quickly, the Weather Timer increases the mowing frequency. Conversely, during periods of slower growth, the mower will cut less often. This not only keeps your lawn looking great but also extends the lifespan of your mower by preventing unnecessary wear and tear.
Enabling the Weather Timer
Activating the Weather Timer on your robotic mower is simple. Follow these steps:
- Access the Menu: Start by navigating to the main menu on your mower's control panel or through the companion app.
- Select Settings: Go to the 'Settings' section.
- Find Weather Timer: Scroll through the options until you find 'Weather Timer.'
- Activate: Toggle the Weather Timer to 'On.'
- Select Cutting Time: Choose from Low, Medium, or High. These options fine-tune the cutting result:
- Low: The mower operates for a shorter time and less often.
- Medium: A balanced setting for average conditions.
- High: The mower operates for a longer time and more often.
Your robotic mower is now set to automatically adjust its schedule based on the weather, giving you a perfectly maintained lawn with minimal effort.
Usage Tips
- Avoid Restricting the Schedule: To allow the Weather Timer to optimize mowing times effectively, avoid setting restrictive schedules. This flexibility ensures your mower can operate during optimal times.\
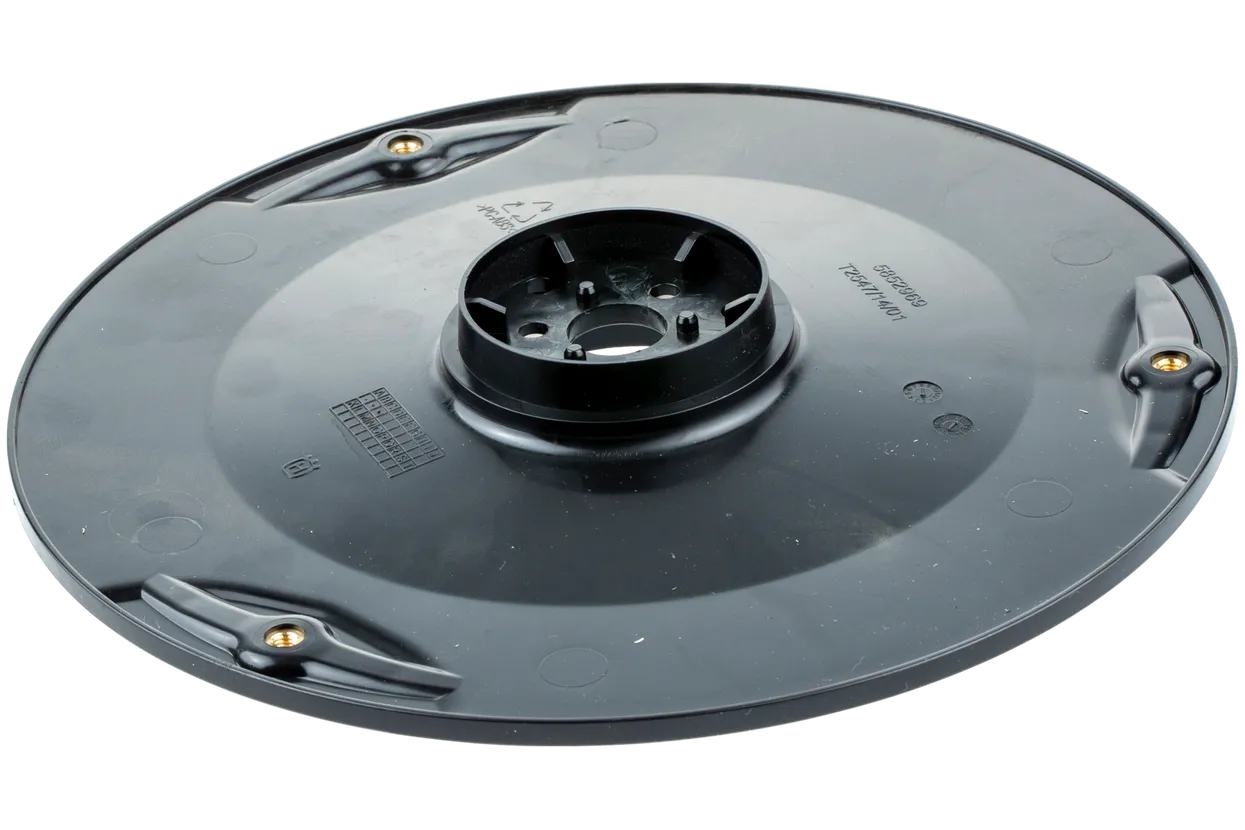
- Blade Checks & Cleaning: Keep up with regular cleaning and blade checks - blunt blades, clogged blade discs or grass and other materials twisted around the blade disc shaft can affect the weather timer sensors.
- Weather Timer Calibration: After enabling the Weather Timer, give your mower some time to gather data and optimize its mowing pattern. This might take a few days or weeks, depending on the weather conditions and grass growth rate.
Benefits of Using the Weather Timer
- Optimized Mowing Schedule: Your mower will only run when needed, saving energy and reducing noise.
- Healthier Lawn: Regular mowing suited to growth rates ensures your grass stays lush and healthy.
- Longer Mower Life: Reduced unnecessary mowing helps maintain your mower in top condition for longer.
Final Tips
Ensure your mower is connected to a reliable weather data source, either through Wi-Fi or the built-in cellular network.
Regularly check the settings to make sure the Weather Timer is functioning as expected.
Which models have a Weather Timer?
All Automower® models have Weather Timer except for the following:
• 105
• 115H
• 310


